How to set a new mould for a hair brush or body brush
If you like to increase your sales or enlarge your market, sometimes you maybe need to develop some new products, then you have to consider the mold of the products. A quality mold is the base of the quality products, so the mold design and set are very important step for a new product’s developing.
No matter the wooden brushes or plastic brushes or the other wooden crafts and any other plastic products, to produce mass products, have to set the standard molds to keep every products are same shape, same size and quality.
How to set new mold for wooden brushes or crafts? Here following below steps,
- Design the brush or craft by computer, a drawing with specification or better 3D file with details.
- Make hand samples/prototype by hand or 3D printing. Now the 3D printing is the best and quickly options, but this ask a 3D file.
- Set a new molds, test mold and make samples.
- Debugging the molds, and trial produce products.
Molds for wooden brush or wooden crafts are simple and cheaper, but most production steps will have a mold, so a set mold for wooden products will have two or more molds, depends on products design. Average charge of each mold will be about USD100.00~200.00, it’s very cheap relative to the plastic mold.

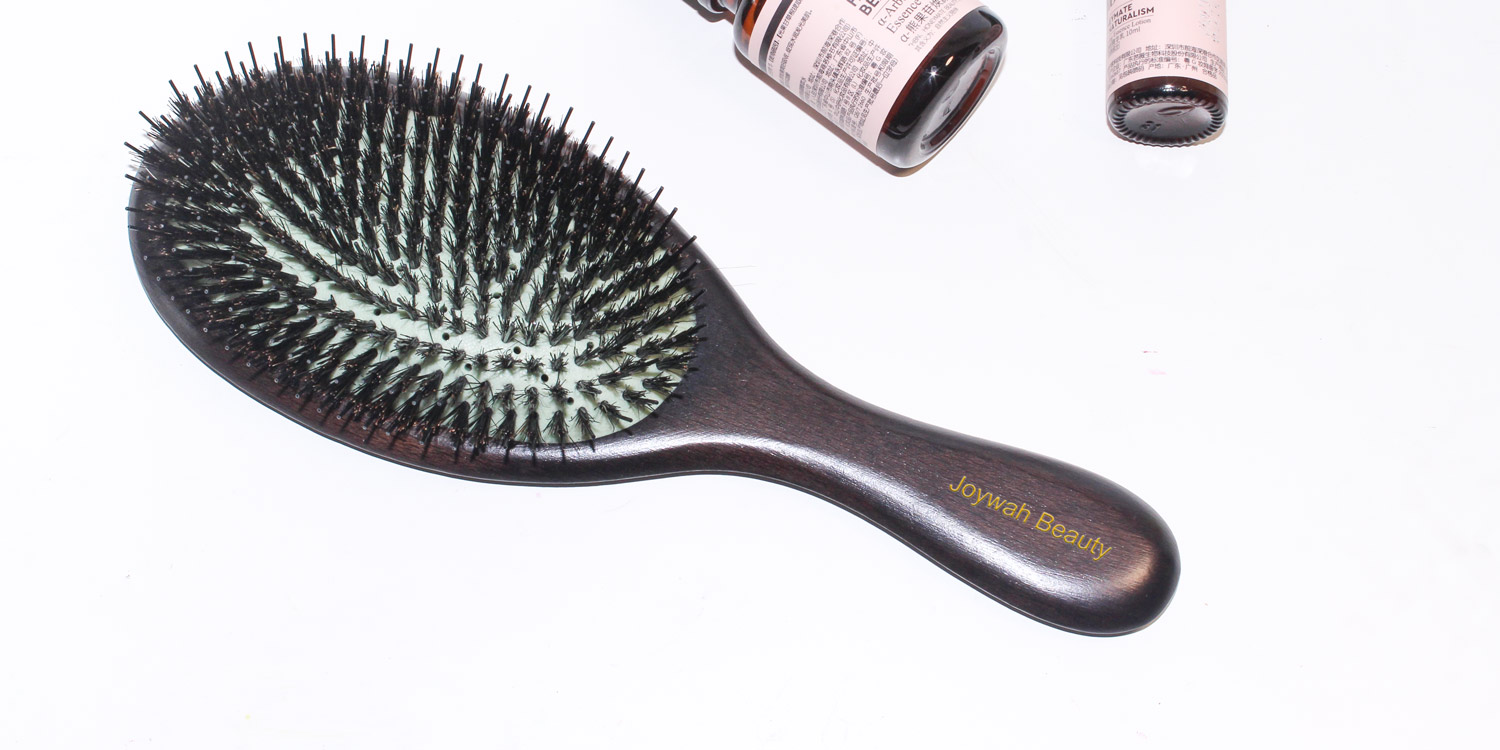
A mould for wooden brush making bristle.
How to set a new mold for plastic brushes or crafts? Following below steps,
- Design and Engineering: The first step is to design the product and create detailed engineering drawings. This includes specifying the dimensions, shape, and features of the plastic part.
- Material Selection: Choose the appropriate plastic material for the product based on its intended use, properties required (such as strength, durability, and flexibility), and manufacturing considerations. For hair brushes, bath brushes or some related plastic crafts, general materials is ABS, PP, PS, PE, TPR, Degradable Plastic, etc. We have different mold materials to suit for your products request.
- Mold Design: Using the product design, a mold designer creates a detailed mold design. This includes determining the cavity shape, cooling channels, ejection system, and other mold components.
- Mold Making: The mold is fabricated using various techniques, such as CNC machining, EDM, or 3D printing. Precision machining is often required to ensure the mold’s accuracy and surface finish.
- Mold Testing and Debugging: Before mass production, the mold is tested to ensure it functions properly and produces parts within the desired specifications. Any necessary adjustments or modifications are made at this stage.
- Production Setup: Once the mold is approved, it is ready for production. The plastic material is melted and injected into the mold cavity under controlled conditions of temperature, pressure, and cooling time.
- Part Inspection and Quality Control: The molded parts are inspected for dimensional accuracy, appearance, and functionality. Quality control measures are in place to ensure consistent product quality.
- Tweaking and Optimization: Based on the inspection results, the mold and production process may be further tweaked and optimized to improve part quality and manufacturing efficiency.

The 3D design for plastic brush inject mould
Molds for plastic brushes or crafts will more complex than wooden brushes or crafts, need to professional design, produce and test. Every steps will ask high standard, to ensure that the brushes are high quality. And a quality mold will have more lifetime, most of our mold set lifetime more than 300K pieces, some are up to 500K pieces.
Inject mold charge is more than wooden products, it’s depends on the design, parts quantity, materials request, etc. General from USD1000.00 to USD10000 per mold or more.